Saturday, 20 March 2010

A happy accident Z-Brush may be useful after all

During my time looking over the Internet looking for good tutorials on how to use Z-Brush correctly i stumbled upon this great video tutorial called - ZBrush Tutorial - Zapplink / Image plane Plugins

Here is the URL: http://www.youtube.com/watch?v=KcsYWqhxV2M

Basically this tutorial shows you how to create great looking textures using in conjunction Photoshop and Z-Brush. I decided to have ago at this technique and see what would happen. Below is how it was built up:


Here is the diffuse that this tutorial helped me generate when it exports it out into Photoshop:

If we do a quick comparison between the old texture and the new texture you can see a massive improvement.

Friday, 19 March 2010

One last try at Z-Brush

After the last two days things have been quite disastrous and I'm gutted that things have not turned out the way i planned. I decided today that i would have one last go at the torso area using the stencil technique that i tried with the characters face yesterday. Before i started sculpting again in Z-Brush. I took some images into Illustrator and created my own stencils like these images below:


These would be place in the Alpha and act as a mask with black area being unaffected and white ares could be extruded upwards. With this in place i attempted again to create the panels and below is the result:

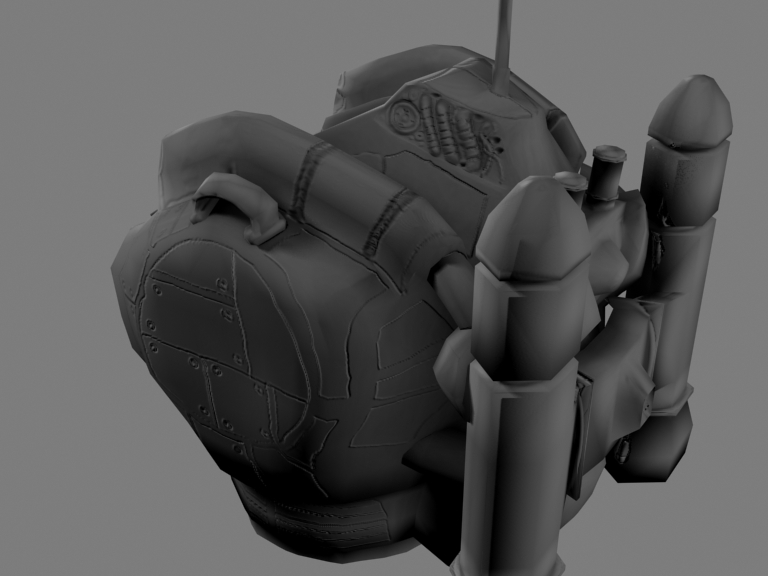
As you can probably see there is a big improvement in the straight line edges and there is alot more definition to the panels now. Since i was happy with the panels i started to poly paint over the model in Z-Brush to start to bring out the panels alot more.
I thought that i was getting somewhere and i showed my work to both Dean and John to get some feedback. They both came to the same conclusion that i had put way too many panels in and added too much detail. They explained to me that if you was to look at the character from a distance that the panels would become all blurred and the user would not be able to make everything out. They said that i should go back and make the panels alot bigger in size so it was more pleasing on the eye. So with this in mind i would have to start all over again :(

Thursday, 18 March 2010

Things have not gone well again :(

Well after yesterdays attempt at creating the panels i have got up early today to try and resolve the problems i had. Unfortunately i have started again and i am still getting the same results not very smooth edges everything looks rough and the panels were also not straight and flowing properly with the characters torso.


I have highlighted below the area that i am not pleased with and not giving me the results i was looking for:

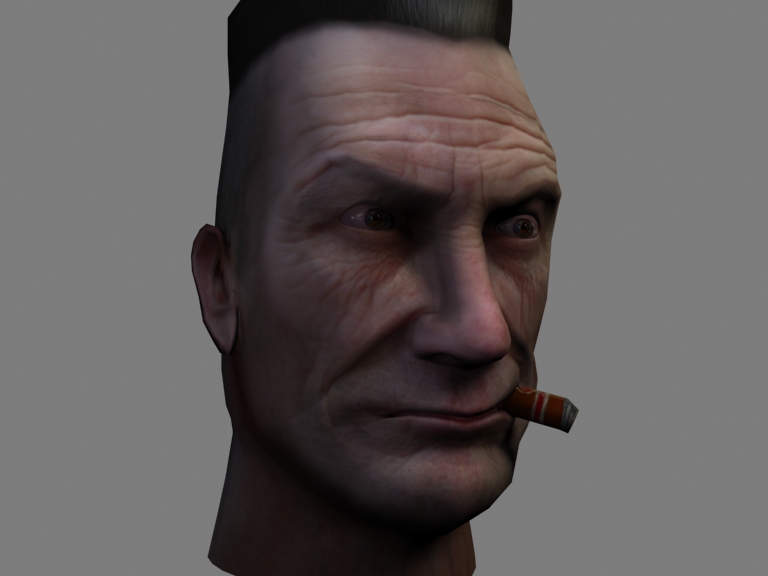
I decided put this to one side after i had attempted to create the panels again and have ago at the head. Within Z-Brush you can create a stencil and import an images and use this to help you create very fine detail so decided to have a crack at this. Using my reference material i had collected back in Pre-Production i place the images over the model of the face and started to sculpt out the wrinkles and skin pores on the face. Below are the results of what i produced for the head area:

Like before with the torso area i really wasn't getting the desired result that i was looking for with alot of rough edges being created and unnecessary lumps and bumps. I think i am going to have to re-think my work flow here as the Z-Brush work wasn't working for me. As i am fairly new to Z-Brush this could be the main factor and i now realise that alot more time is needed to perfect my skills within Z-Brush. Time that i simply haven't got as deadlines are getting tight i may have to look at alternatives to create the normal and specular maps for my character.

Wednesday, 17 March 2010

Working in Z-Brush again

It was about time that i made a start on texturing the character properly and i made a start using Z-Brush. I have decided to start with the Torso and make a start creating the panels. The kind of look that i was aiming for was like out of Gears of War. I really like the way the characters armour was built up in this game and it looks really effective. Here is some quick pics on what i mean:

With this as good reference material i decided to have ago myself and see what i could come up with. It had been a while since i had last used Z-Brush i had not used it since i was on the FD course here at St.Helens college. After a couple of hours getting to grips with it again i had produced the panels but i wasn't happy with how things had turned out.


Looking at what i had produced the edges and strap areas where not coming out smooth they was coming out very rough and didn't look natural and at the same time i was struggling to get the desired effect like the Gears of War characters.

Ive decided to call it a day at this point as i have found this very time consuming and and very exhausting, I will have another go at it tomorrow.

Friday, 12 March 2010

Both Weapon Unwraps finished in no time at all.

After not logging anything for the past 3 days due to me unwrapping the two weapons the first think i want to point out is how much easier the weapons were to Unwrap compared to the Hoverbike. I think this was down to the fact that there was far less polys to consider and maybe it was due to having spent such a long time on the Hoverbike unwrap that i was just getting more used to the whole process.

I shall first display the Assault Rifle Unwrap and UVW Layout.
Below is the checker applied to the Assault rifle to again check for strecthes in the texture etc.

You may notice that on the grenade launcher Dean suggested to add in some riggers where the character would hold his weapon to make it more stable when firing or easier to carry around with him. I think this will be prominent once i start to texture it.
Now to show how i got on with the Mini Gun Unwrap, if you look at the picture below this was my first draft of the unwrap. Throughout unwrapping Nick Sadler gave me a piece of advice which was that when unwrapping all squares on the checker should be of equal size and length, i tried to keep to this rule throughout the process.
When Nick seen my Mini gun unwrap he said that the gun barrels where taking up too much space in the uv layout compared to the main body of the gun and that i should rearrange the layout by putting on all the gun barrels on top of each other and scaling up the main body so that more detail could me put into the texture later on. Here is the finished Mini Gun UVW Layout:
As you can see now there is alot more room in the UVW Layout for me to texture the main body area better. I was alot more pleased with this because the main body area would be what people focus more in on when looking at the Mini Gun fully textured.
Here is a series of screenshots with the checker applied to it:

With all models now fully unwrapped it was time to make a start on creating the final finished diffuse maps. Once all diffuse maps are created i will be able to it takes the diffuse and create the specular and normal maps.

Tuesday, 9 March 2010

Vehicle Unwrap complete

Well after 4 days of solid hard graft i have finally finished the Hoverbike Unwrap i found this to be much tougher to complete than the Character Unwrap trying to get the checker to sit correctly on the model was a task in itself. However the 4 days hard work i put into it have paid off as you will see below:

Here is the Unwrap work in progress as you will see it a very complicated Unwrap to do.


Here is the UVW Layout of the Hoverbike.


With the checker applied to it like i done with the Character i was able to see that once i create the Diffuse map for the vehicle everything will sit correctly on the model with no skewing or textures being stretched.


I am very pleased with how the Unwrap has turned out and once a diffuse is added i feel confident enough that the texture will not be strecthed. With this completed it was now time to move onto the Weapons.